Regions
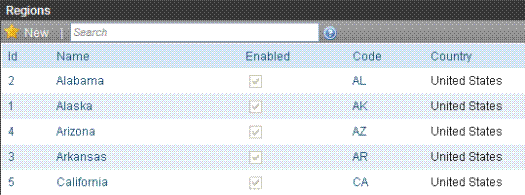
The Regions screen lets you define geographic regions within countries that your eCommerce site services. For example, in the United States of America, each state is a region.

Regions are used in the same way that countries are used. See Also: How Countries are Used

Default Regions
By default, the Regions screen includes all 50 United States of America, the District of Columbia, and 9 Canadian Provinces.
Creating a Region
Prerequisite: The region’s country is defined in the Countries screen
To add a new region, follow these steps. See Also: Regions
1. Go to Ektron CMS400.NET Workarea > Settings > Commerce > Configuration > Regions.
2. Choose New > Region.
3. Use the following table to complete the screen.
|
Field |
Description |
|
Name |
Enter the region’s name. |
|
Enabled |
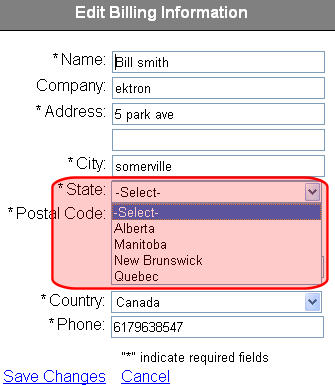
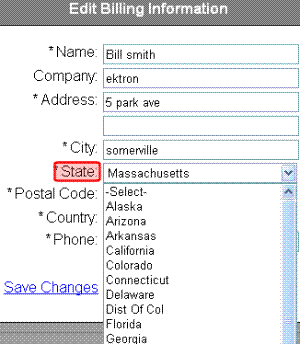
Check this box if you want this region to be active. Only active regions can be selected on the Edit Billing Information screen, which appears when site visitors enter billing information during the Checkout procedure.
|
|
Code |
Enter an abbreviation for this region. |
|
Country |
Select this region’s country from the pull down list. If the country is not there, exit this screen, and create the country using the Countries screen. |
|
Add another region to this country? |
This field saves the effort of selecting a country when entering several regions for one country. To add more regions for this country, check this box and press Save ( |
Editing a Region
Follow these steps to edit a region. See Also: Regions
1. Go to Ektron CMS400.NET Workarea > Settings > Commerce > Configuration > Regions.
2. Click the name of the region that you want to edit.
3. Click Edit ( ).
).
4. Edit any of the fields, which are described in Use the following table to complete the screen.
Deleting a Region
Follow these steps to delete a region. See Also: Regions
1. Go to Ektron CMS400.NET Workarea > Settings > Commerce > Configuration > Regions.
2. Click the name of the region that you want to delete.
3. Click Delete (![]() ).
).
4. A confirmation message appears.
5. Click OK.

 ). When you do, the screen refreshes, and the most recently selected country appears as the default.